While I am still in the middle of finishing my insertion lace tatting… and waiting for good sunlight to work with, tatting and sewing in the winter depends a lot on sunlight… I have completed experimenting with the thin edging I will use on the outside of the piece.
Working out the pattern for rings out edging.
Getting the edging to go straight is the first challenge – it’s mostly about getting the stitch count on the chains right.
Working out the pattern for rings in edging.
And of course the corners need to make a good 90 degree turn, which needs a bit more experimenting to get them right.
Pinning out the edgings after a quick wash.
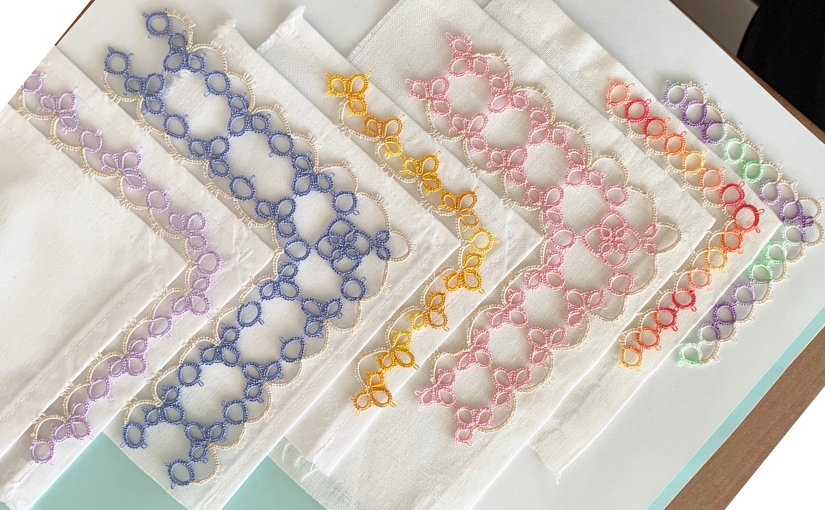
Finished samples of my thin edging.
And then finishing up the samples for reference is needed…. Now all I have to do is decide whether I want the edging with rings out or chains out… I’ll decide that later.
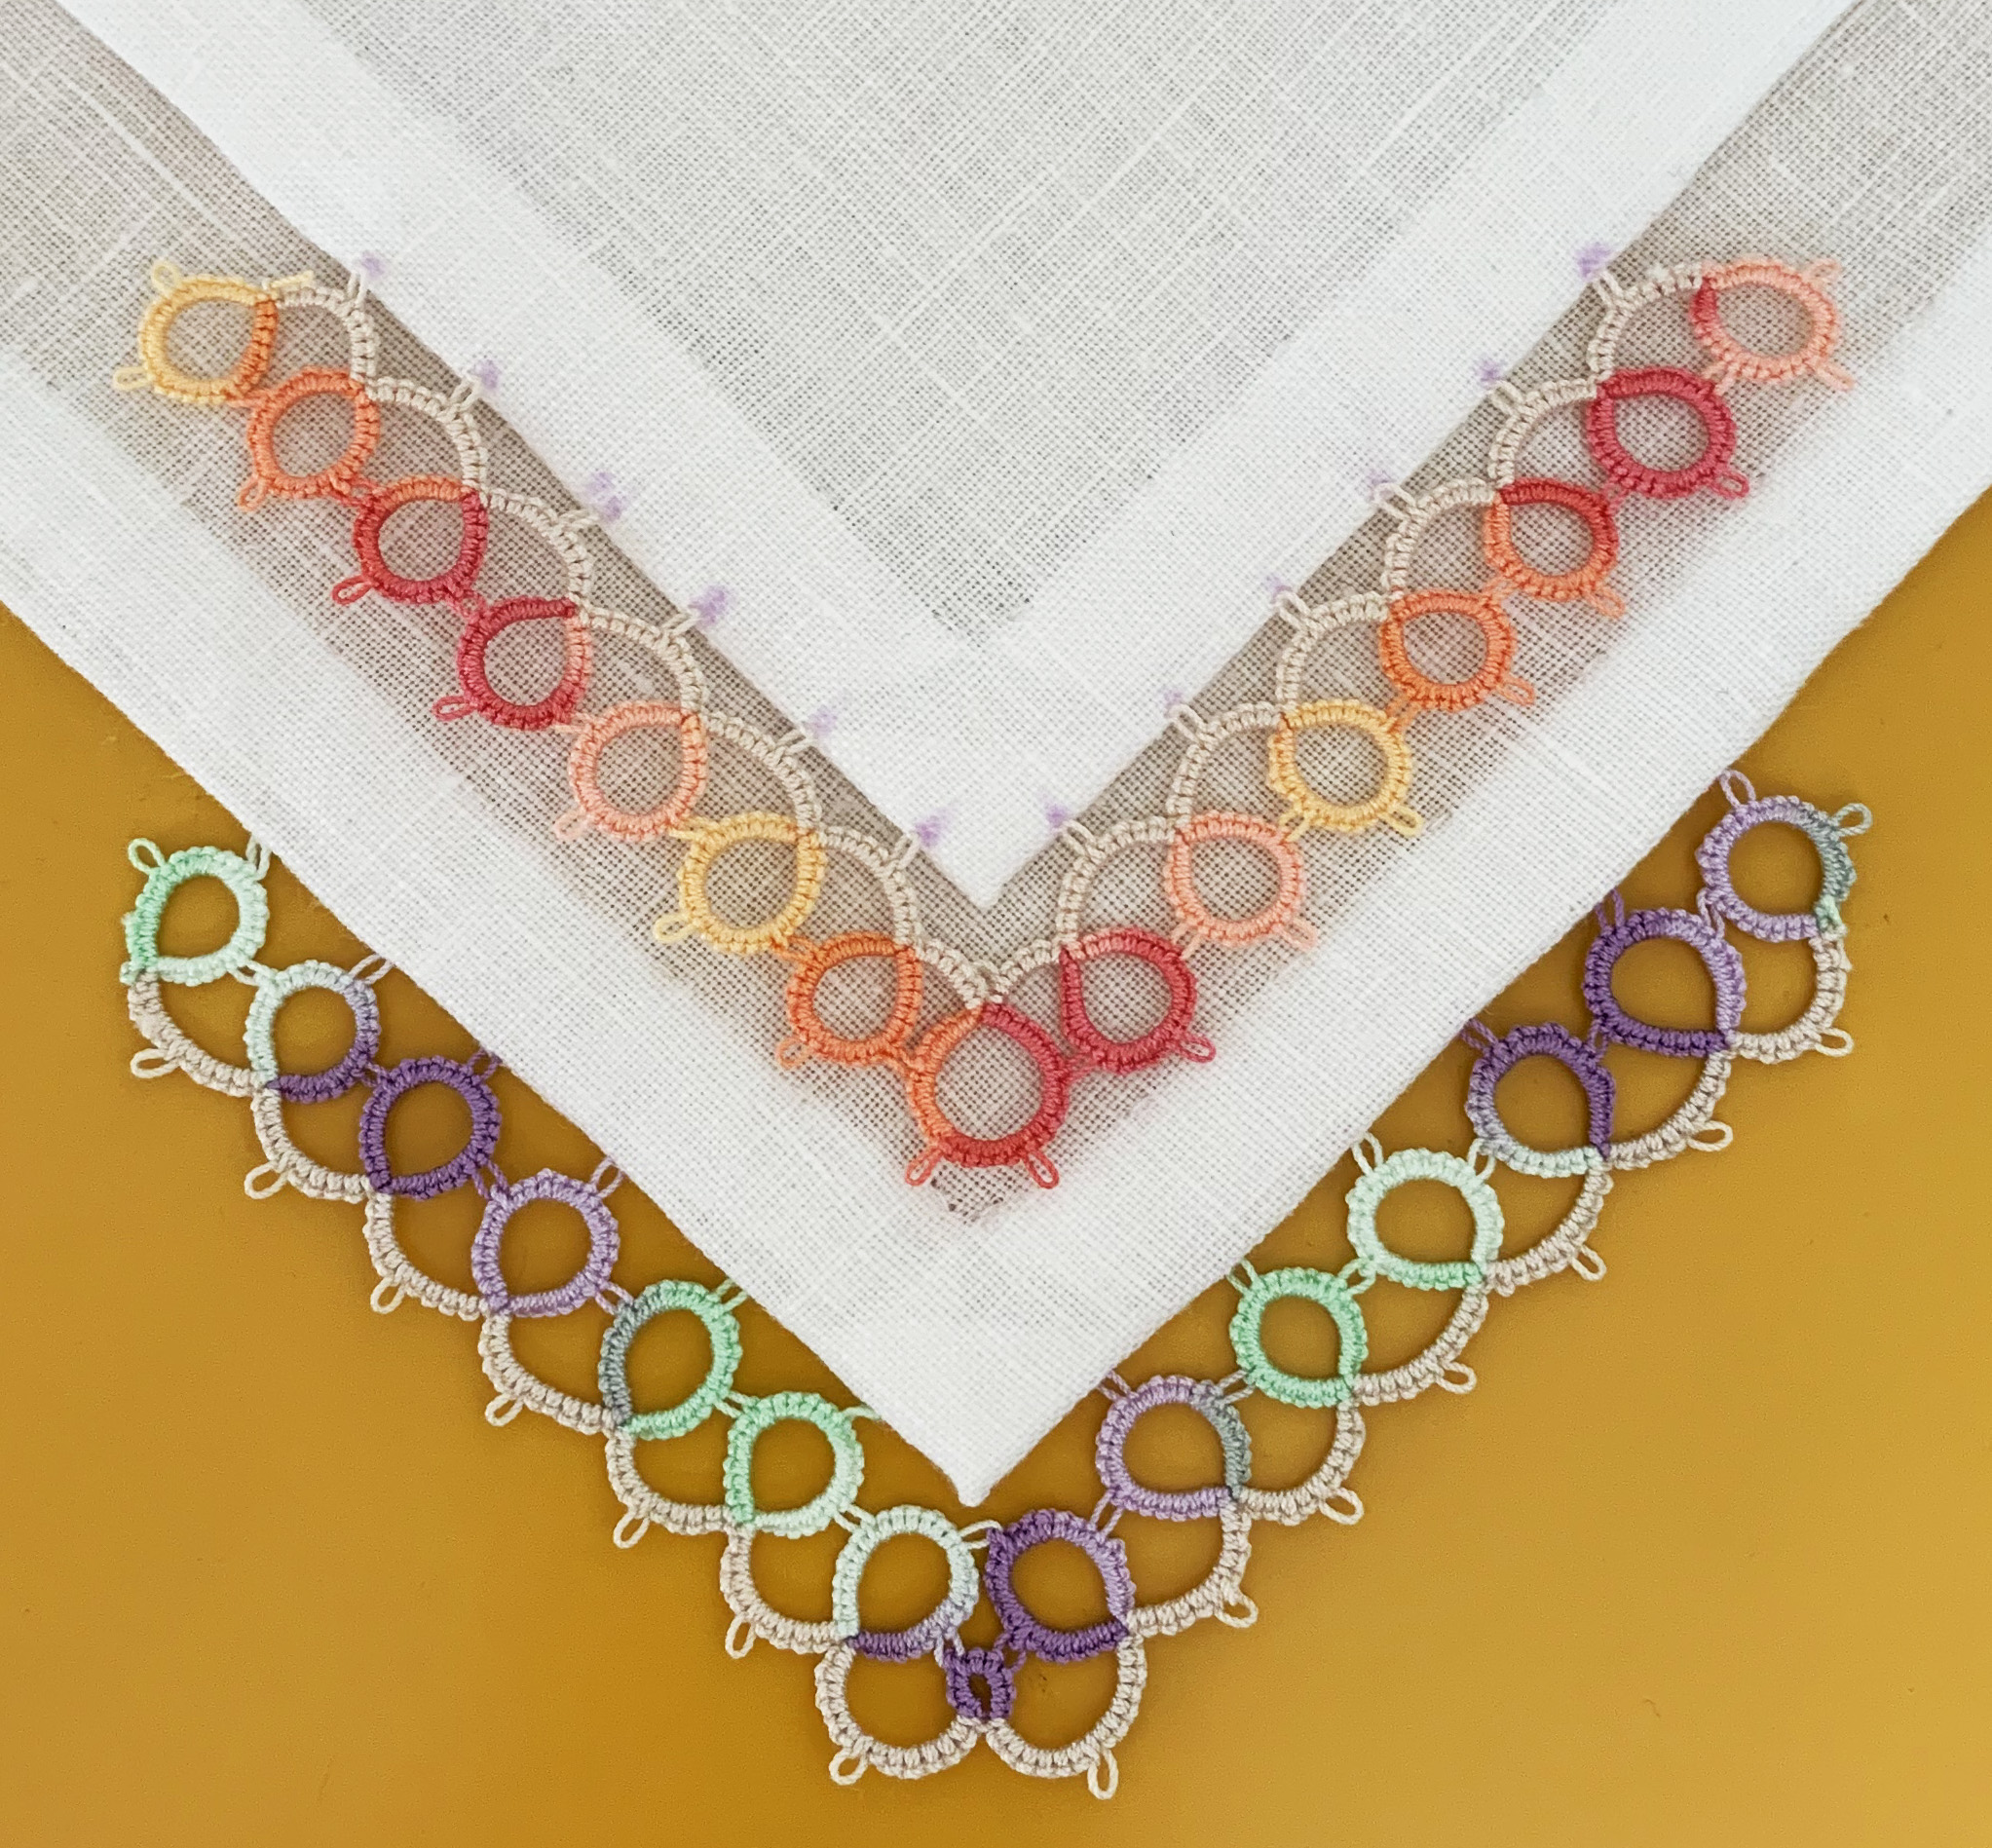
Corner almost there, and now I think it’s an insert, not an edging.
I’ve now decided to simplify the edging pattern to the clusters of 3 rings only… and I think it’s an insertion.
This corner is doing better, but it is a bit deflated now, so I will add a couple of stitches to the chains for the final piece. This is a sample of how it will look when attached to fabric. The 3 picots for attaching seems to work. That was important to experiment with before making a bigger piece.
I intend to add fabric to the other edge of this work as well. Thus making it an insertion, rather than an edging. The Lizbeth size 40 thread pairs well with the linen fabric I will use. I am then thinking a simple edge on the outer side of the additional fabric would be appropriate.
So now that I have a pattern I am good with, I will make something that looks like a finished piece!
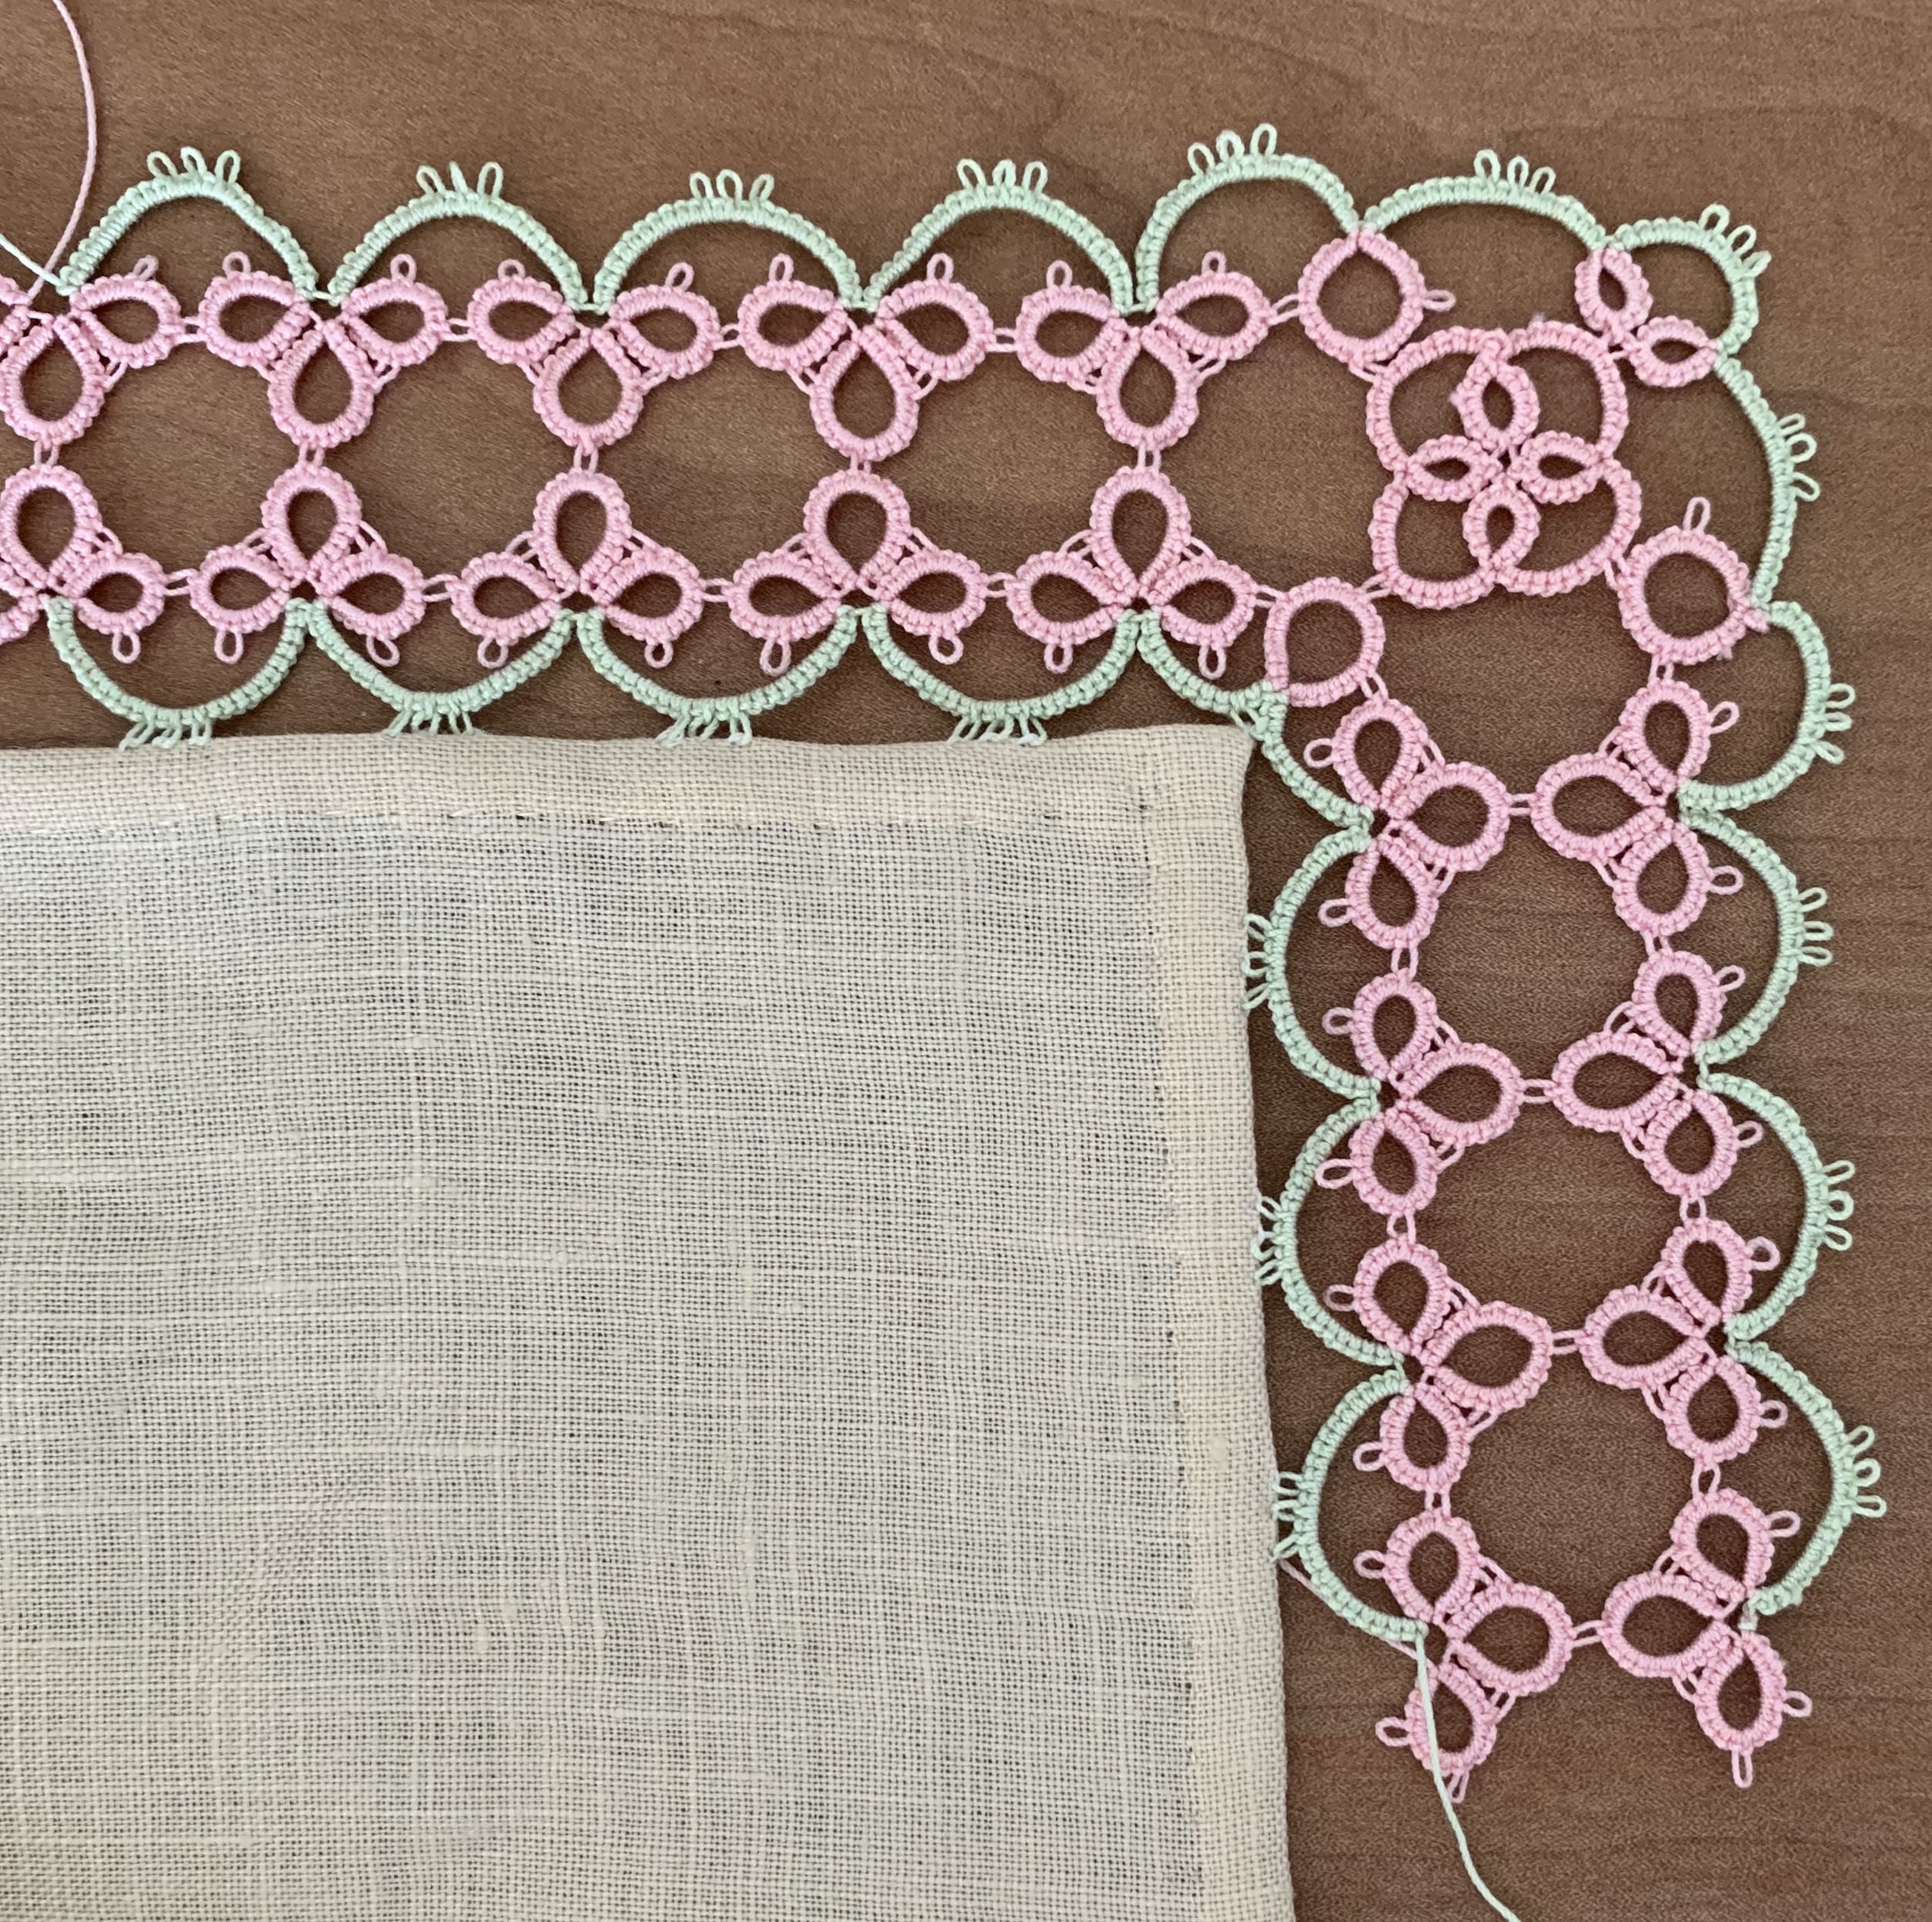
Experiments with tiny thread and attaching directly while tatting.
Thinking my edging design was beginning to look appealing, I experimented with even smaller thread. This is DMC size 80 thread for the white, and hand dyed with bits of blue size 70 thread for the rings. The difference in thread size is small, so it worked ok.
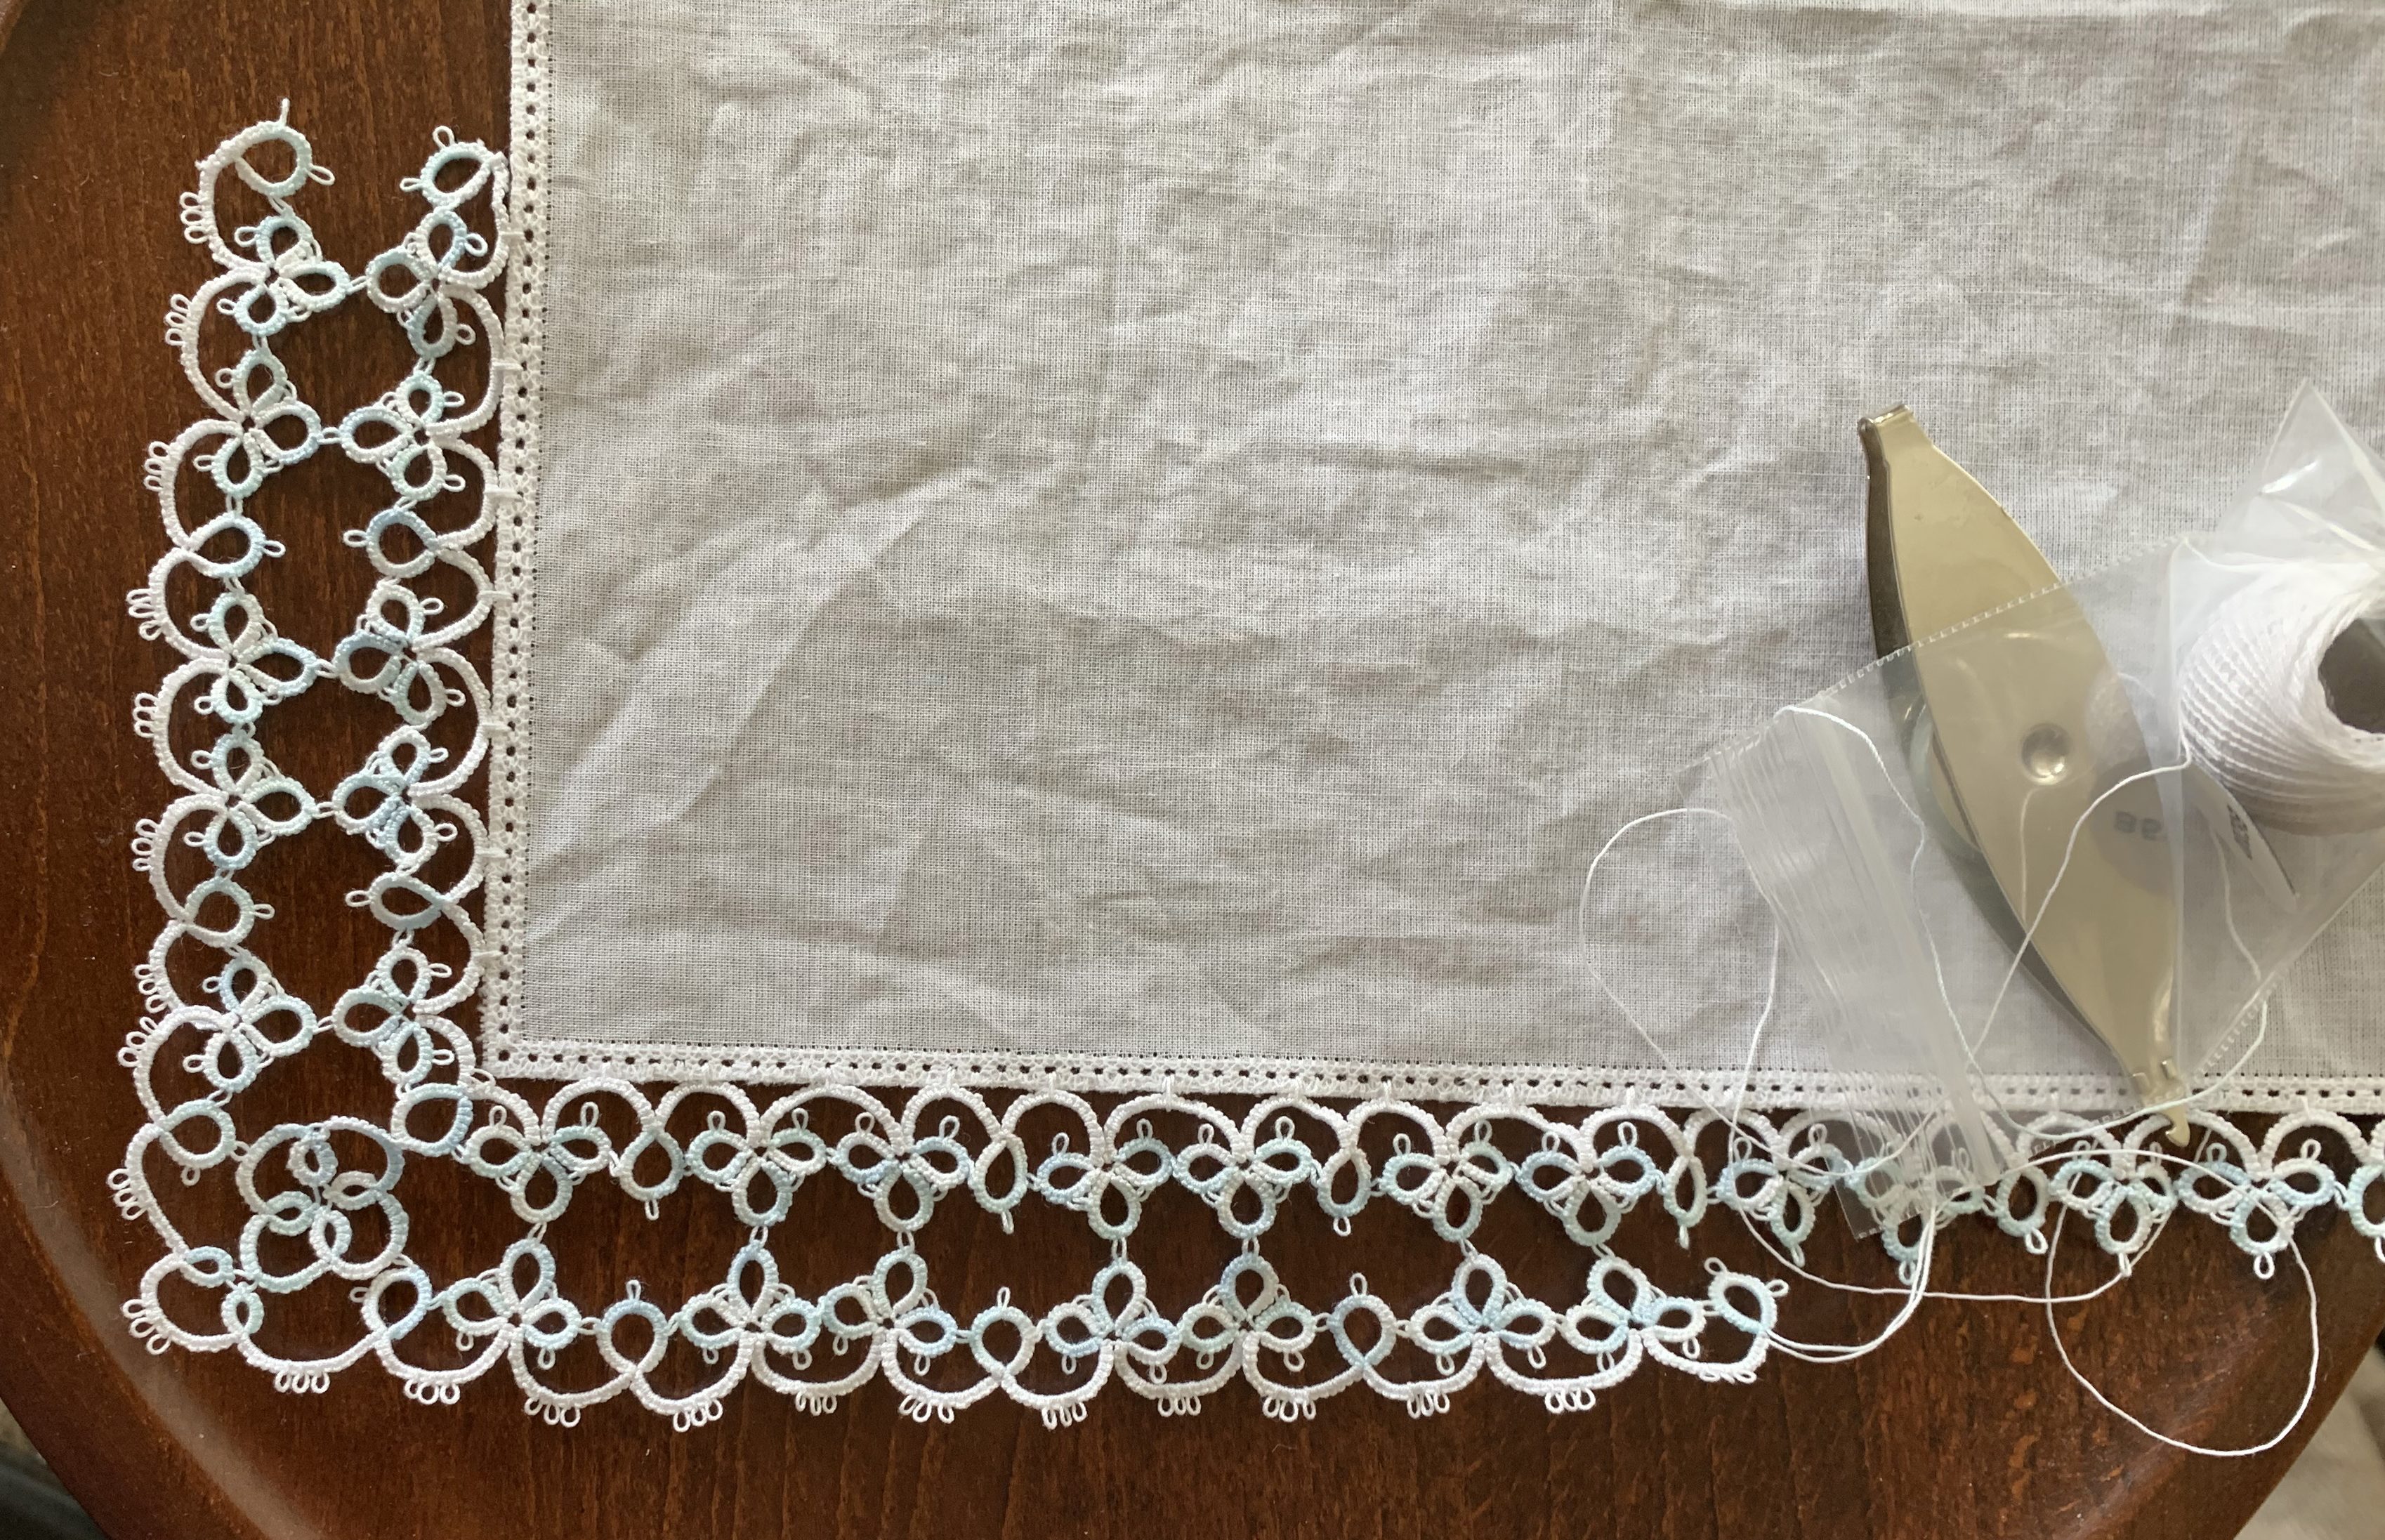
I also experimented with adding the tatting to a hankie while making it. This didn’t work so well. As you can see, the lace is not sitting flat. This means the pattern is just slightly too big for the edge I was attaching it to. And boy does it take a long time to tat with thin thread! This is a work on a bright-sunny-day-only size thread to be able to see what I’m doing!
And the hankie is very wrinkled.
I don’t recommend tatting an edging directly onto a hankie or other fabric! It may not be the right size, and it wrinkles the fabric too much.
And the alternating 3 ring and 1 ring design is looking a bit flimsy for an edging.
Working with a bit smaller thread, this time a size 40 Lizbeth thread, I experimented more with the design. Here you see the small inside corner looks good, but the outer edge is waiting on some thought.
A good first attempt at a corner, but it bows out a bit and needs work.
This is the direction of the design. At first I had made the corner too small, in this photo you can see I then made it too big. So it is moving in the right direction, but it still bows out too much and will need refinement. And the number of picots on the chains looks a bit over done!
Starting to design my own edging pattern, I first tatted together some rings, ignoring any chains. This gives a good idea of how the rings can sit in a line.
Note I used thick thread, so any problems would be big enough to be obvious!
Adding another row for interest, still rings only.
Then I doubled up the size. I have ideas of potentially threading ribbon through the middle of this tatting. I have seen this on some old edging and insertion patterns, and I think it looks nice, so I added in this potential.
Experimenting with chains for spacing and for making corners.
And then adding in the chains to experiment with spacing started. There were many attempts, this is the best photo I have… and this is not the stitch count I finalized on… see later posts!
Corners are also a challenge for designing an edging. This is a pretty good start for a corner!
In preparation of creating my own edging designs I have been experimenting with old designs I found from books. I have done trials of several patterns to test the patterns and to see how the documentation works for ease of reading & understanding. I have used very thick thread for this – I find any problems with a pattern become very obvious when thick thread is used. But the results don’t look very appealing, so the trails here are kinda ugly.
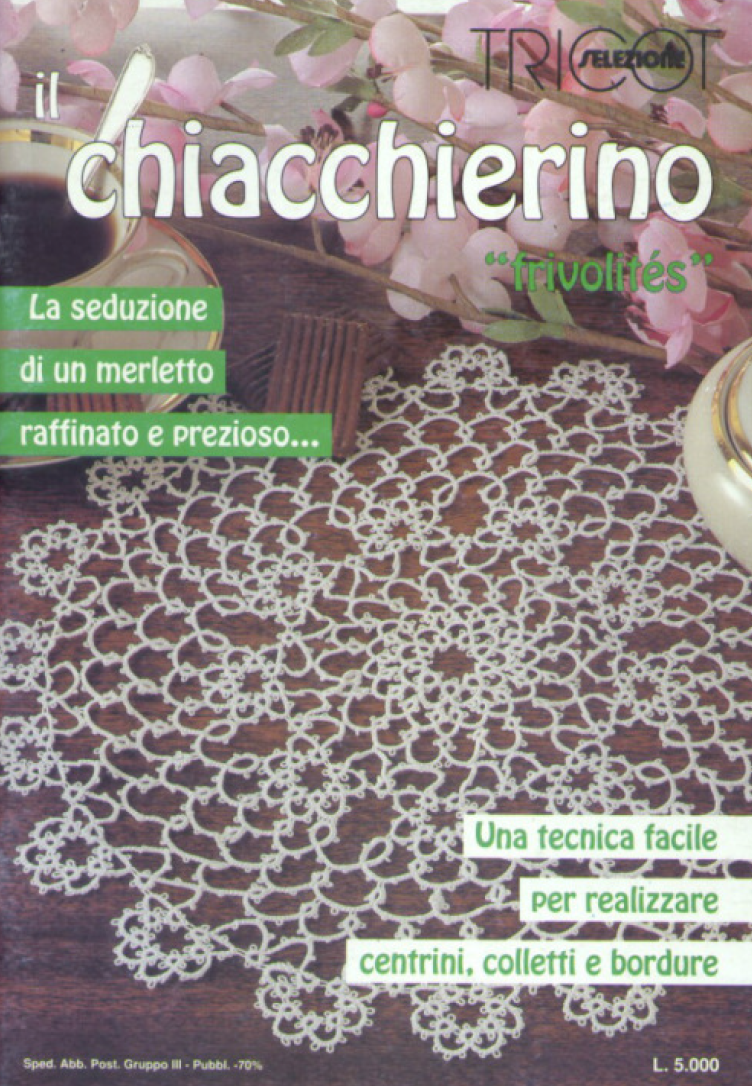
il chiacchierino magazine green text
This is the magazine with patterns I’ve tried here. I think it is in Italian, which I don’t read, so I have guessed stitch counts by looking at the patterns.
il chiacchierino magazine green text Page 45 pattern
This pattern has a well thought-out corner, so I found it appealing.
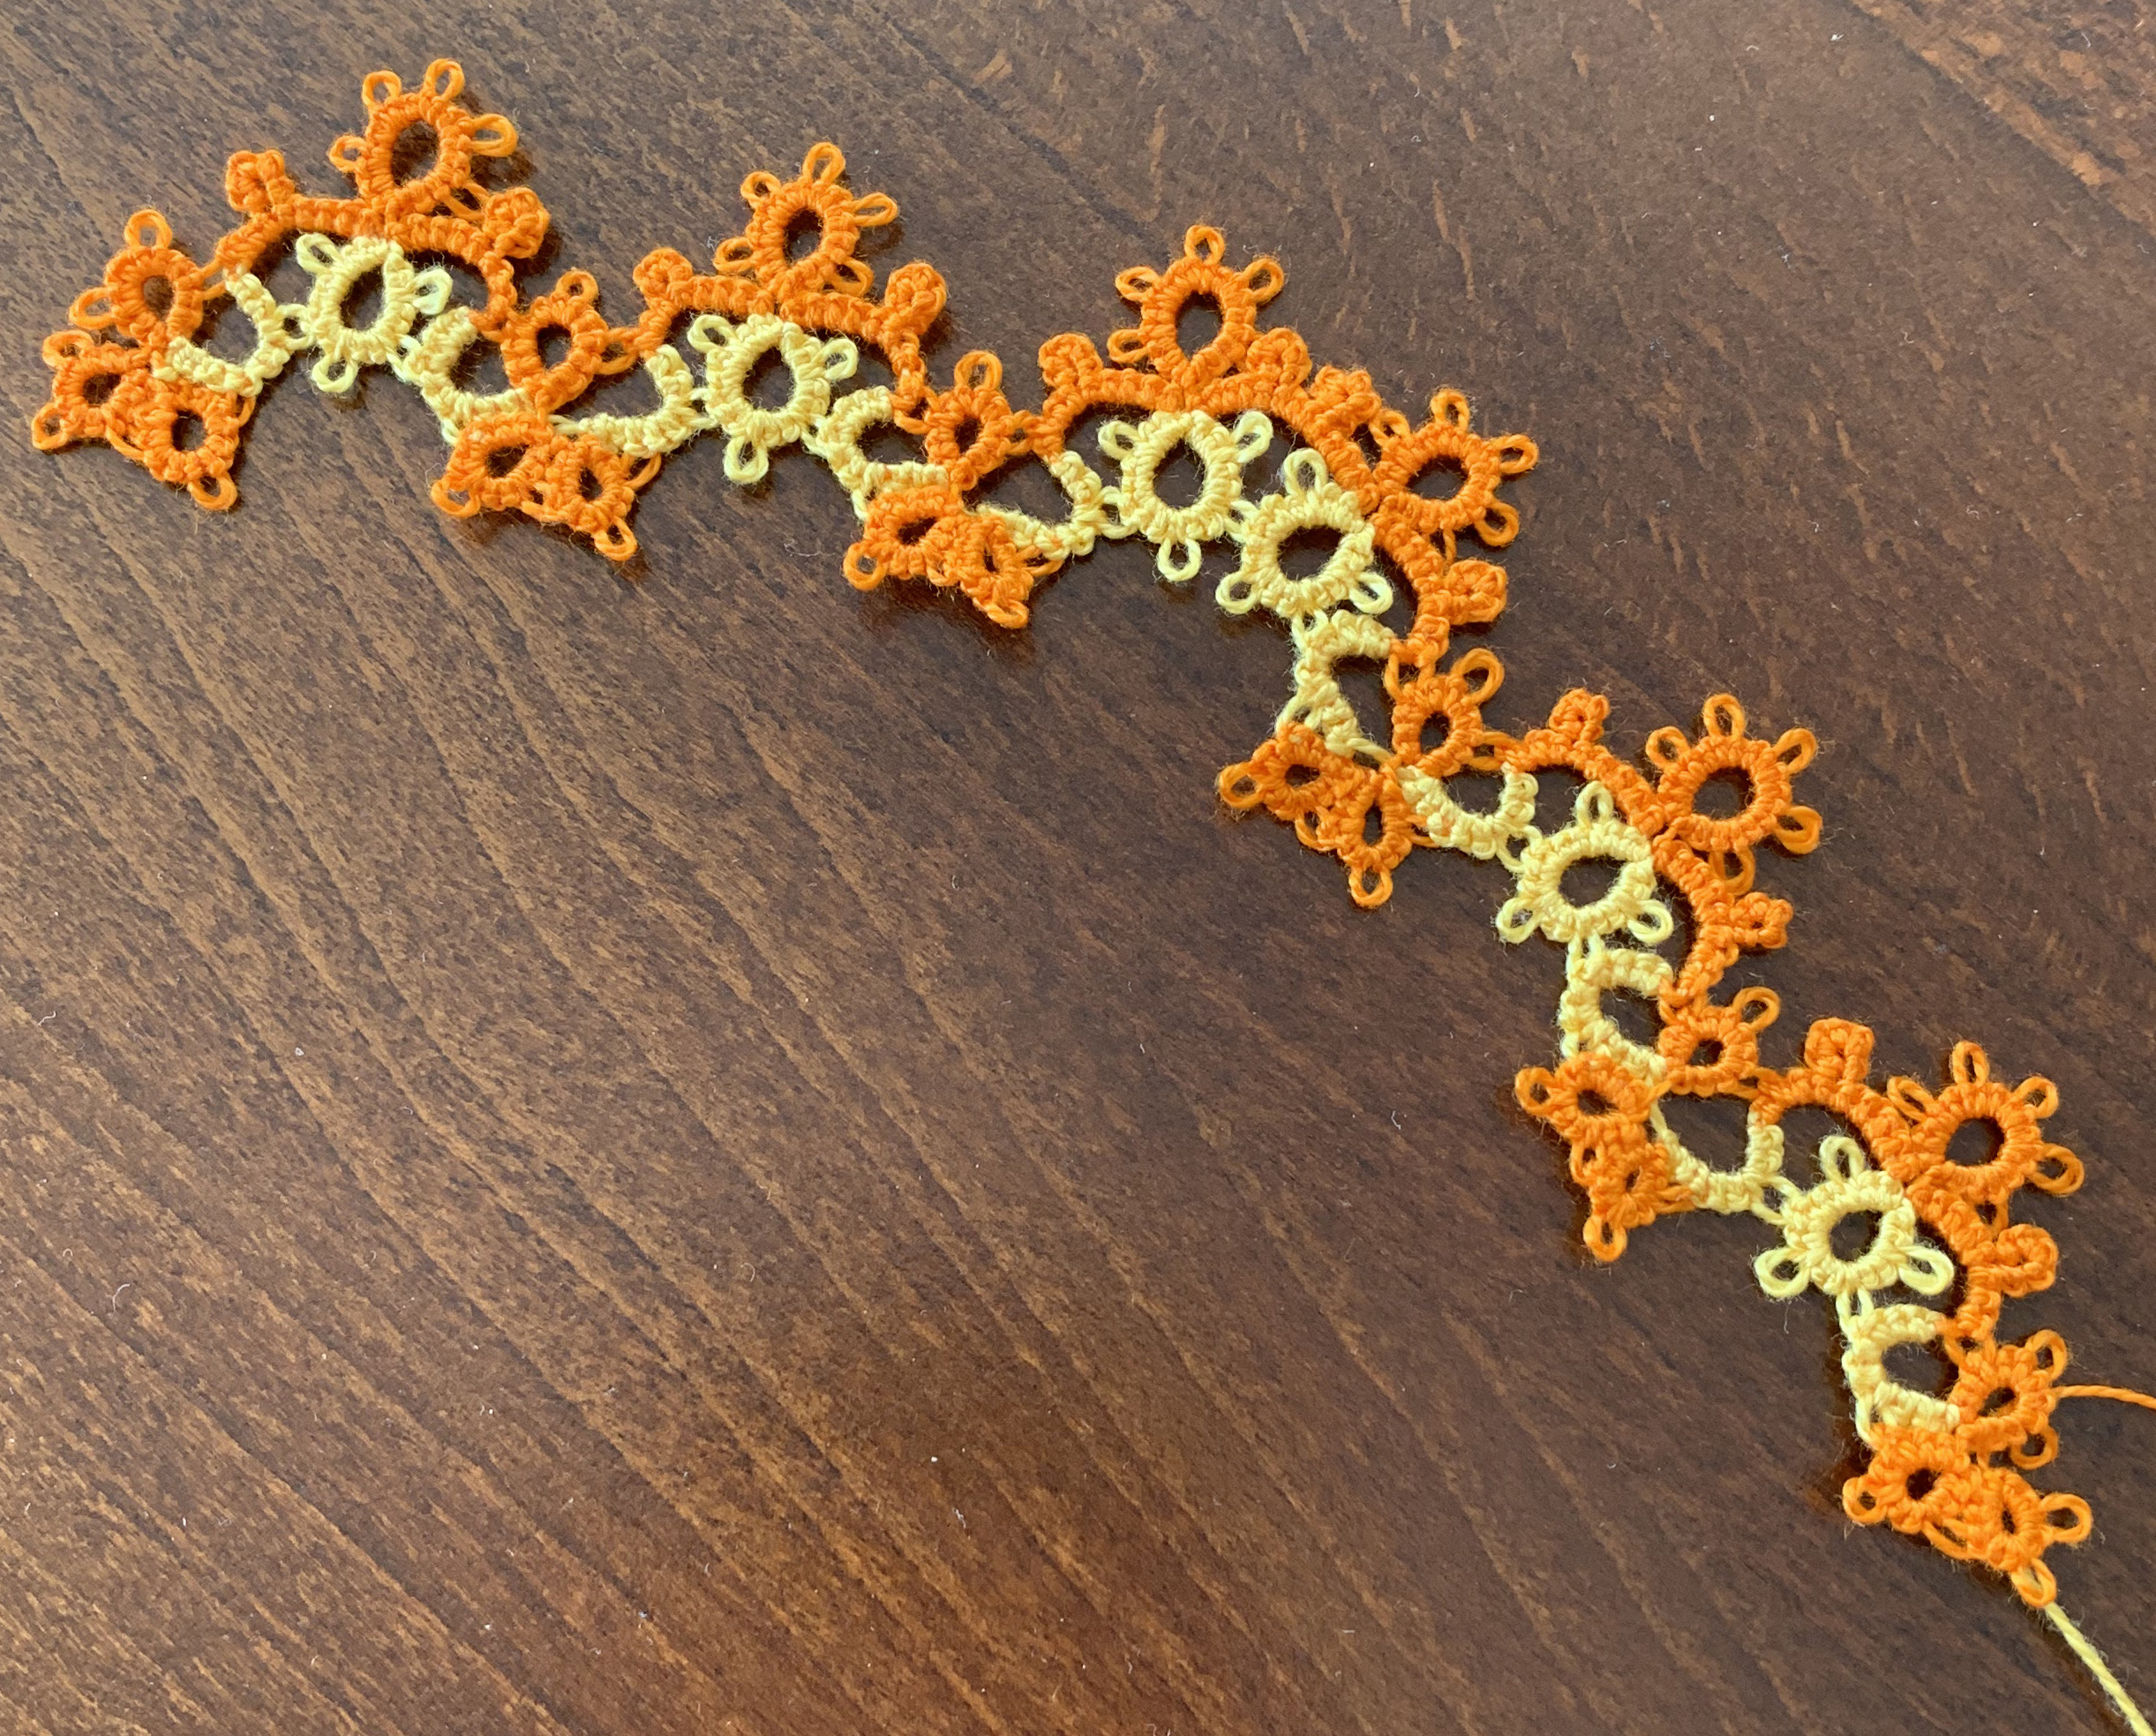
il chiacchierino magazine green text Page 45 pattern Trial
The pattern turned out to be easy to follow, and I like the look of the corner.
il chiacchierino magazine green text Page 47 pattern
This pattern looks familiar – I’ve seen the 3 ring combinations used for edgings before, but this is the first pattern with a good corner that I’ve seen.
il chiacchierino magazine green text Page 47 pattern Trial
And the pattern does a good job on the corner. In my trial of the pattern it is obvious that I need to change the stitch count on the chains to make the corner 90 degrees – I just guessed what it should be – but the pattern is appealing. This is giving me ideas for how I could alter it for my own work! Just what I was looking for!
In preparation of creating my own edging designs I have been experimenting with old designs I found from books. I have done trials of several patterns to test the patterns and to see how the documentation works for ease of reading & understanding. I have used very thick thread for this – I find any problems with a pattern become very obvious when thick thread is used. But the results don’t look very appealing, so the trails here are kinda ugly.
This pattern is in German (I think) but the pattern is easy to follow. I really like the 2 corner options laid out! This would make sizing the pattern to the fabric you want to attach it to much easier.
Spitzen Kreationen Tatting Page 10-11 trial
The pattern was easy to use, the diagram was most useful, and the text helped when I needed more clarification. The thicker thread helped me find the odd turn on the 3ds chains. It would not make a lot of difference on a thinner thread, but it does show up as a not-perfect part of the pattern on the thick thread.
Spitzen Kreationen Tatting Page 4 pattern text
Spitzen Kreationen Tatting Page 5 pattern diagram
Again, I think this pattern is in German, but the diagram was easy to follow.
Spitzen Kreationen Tatting Page 4-5 trial
This pattern was a bit odd to follow. It used 2 shuttles, I used a different coloured thread for each. The chains were odd in that I decided what was needed was a thread change from chain to chain – turning the work without a ring to break up the chain. It resulted in a cute crown-like motif. The corner is not a strict turn, but it could easily go around a rounded corner or be convinced to be straighter.
In preparation of creating my own edging designs I have been experimenting with old designs I found from books. I have done trials of several patterns to test the patterns and to see how the documentation works for ease of reading & understanding. I have used very thick thread for this – I find any problems with a pattern become very obvious when thick thread is used. But the results don’t look very appealing, so the trails here are kinda ugly.
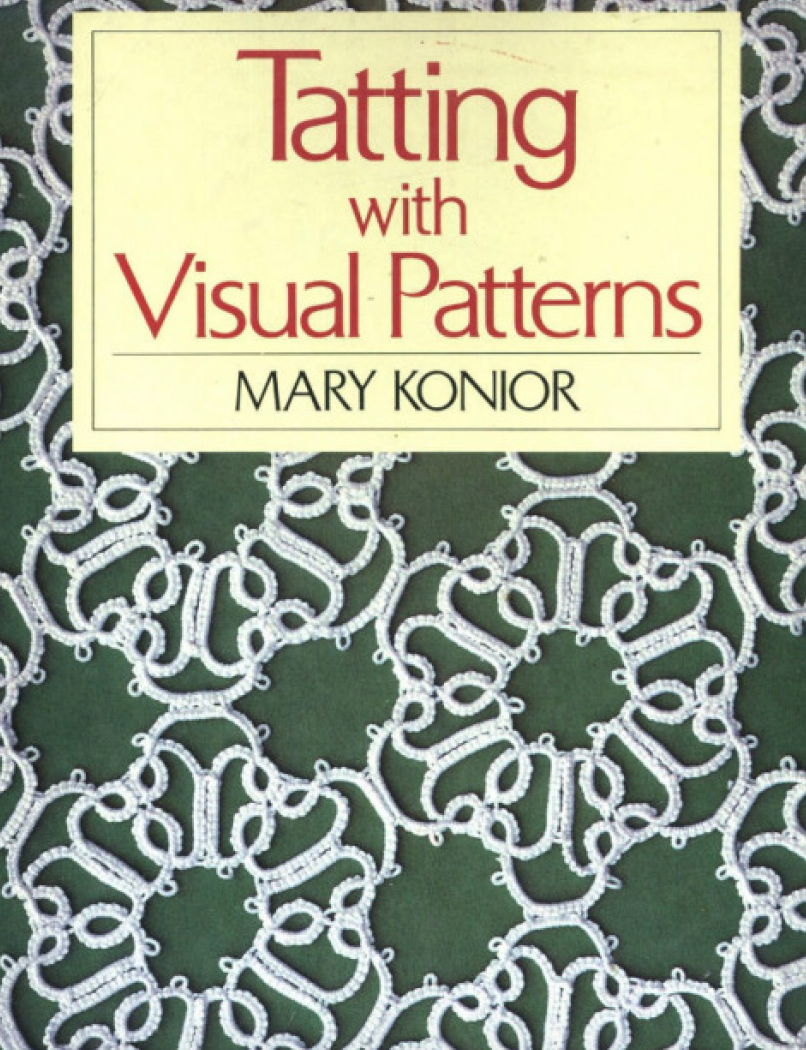
Tatting with Visual Patterns Mary Konior book cover
This is the book with the patterns I’ve tried here.
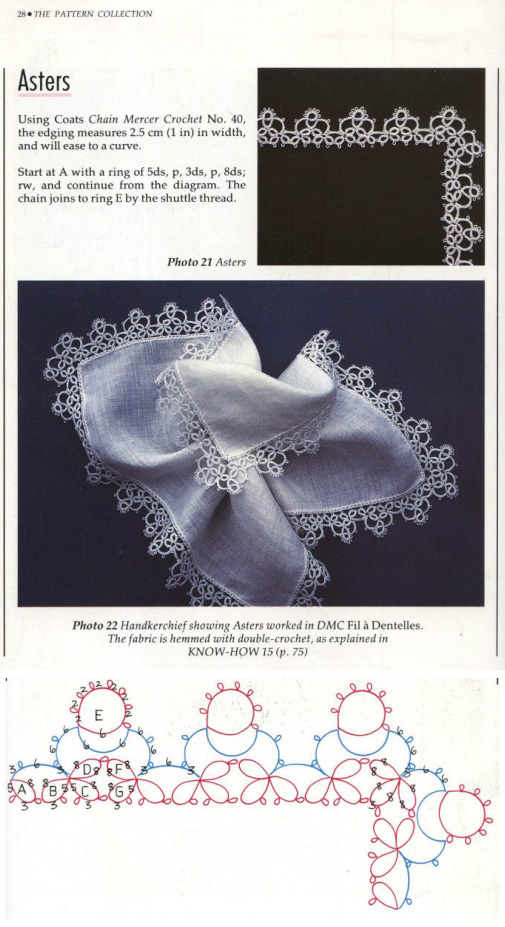
Asters pattern from Tatting with Visual Patterns Mary Konior
Asters Trial
A nice pattern – easy to follow.
Black Magic pattern from Tatting with Visual Patterns Mary Konior
Blackmagic pattern done very well – not by me!
Black Magic trial
An interesting pattern, but a bit of trial and error was needed to deduce if a bottom join or a top join was needed in several spots.
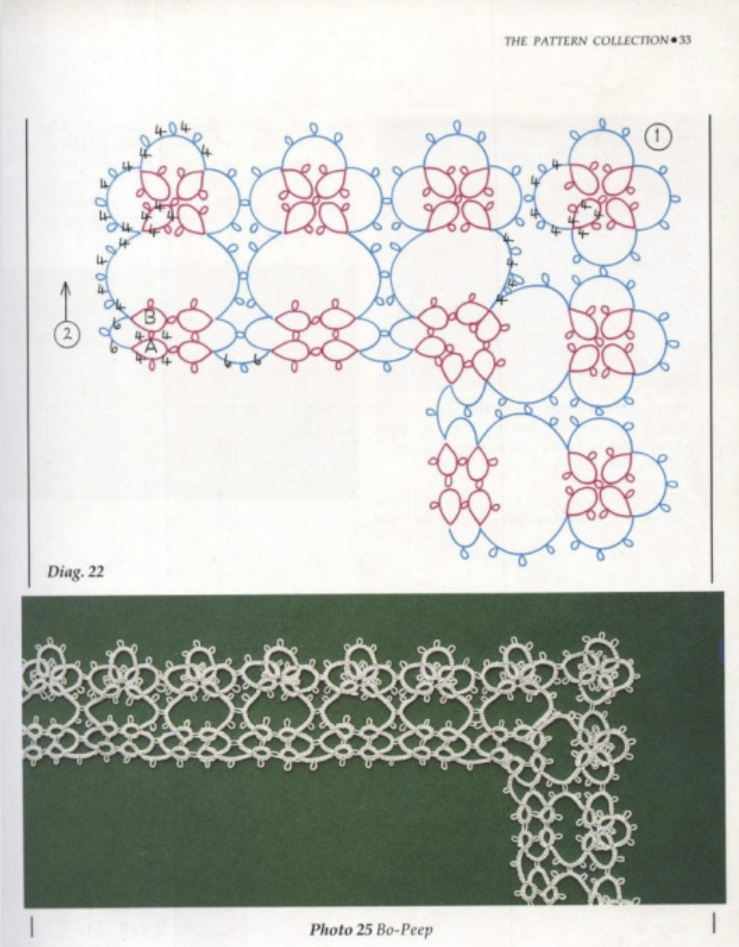
Bo Peep pattern from Tatting with Visual Patterns Mary Konior
Bo Peep trial
This should have been an easy pattern, but the corner was confusing.
Brides Maids pattern from Tatting with Visual Patterns Mary Konior
Brides Maids trial
Too much fluffy edge for my taste – not a pattern I would want to complete.
Clover pattern from Tatting with Visual Patterns Mary Konior
Clover trial
Not a bad pattern, but corner didn’t work too well.
A new effort on the Harriet pattern with some purple threads.
Two attempt at the Harriet pattern – not happy with either.
Edge detail on Harriet – still not working
I’ve put the Harriet pattern away for a while… it’s just not working. The edge needs a lot of attention. It doesn’t sit flat and needs to be rethought.